

1. 准备一台云服务器
这里选择海外服务器vultr,如果你还没云服务器,可以点击这里跳转到vultr,第一次租云服务器是有优惠的,我记得我当时是充多少送多少。
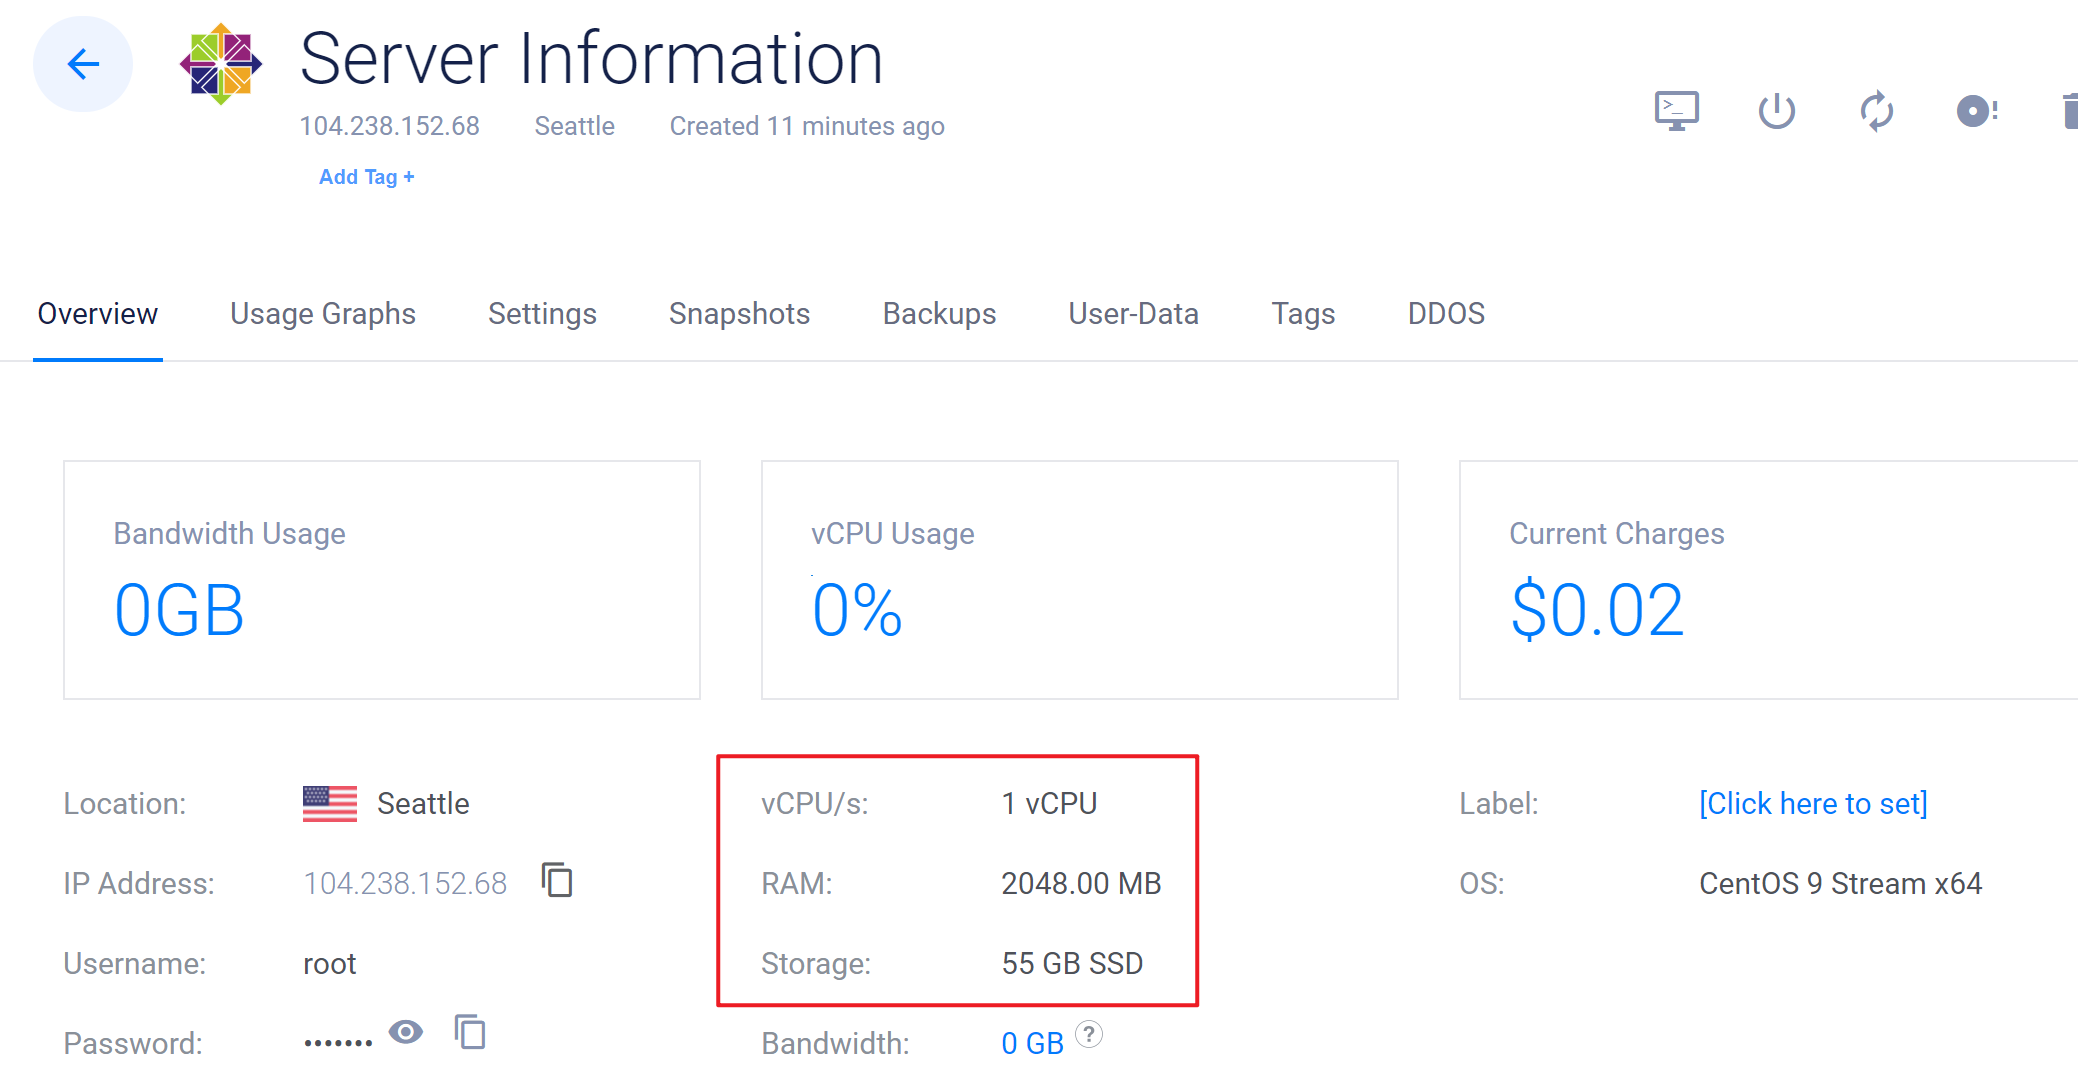
选择自己想要的服务器配置,这里演示,我选择的服务器是1核CPU,2GB运行内存。
操作系统这里选择CentOS。
2. 安装nginx
通过源码编译方式安装nginx
首选初始化系统后,需要执行下面命令
yum update
安装下面依赖
yum -y install gcc gcc-c++ libstdc++-devel pcre pcre-devel zlib zlib-devel openssl openssl-devel
下载源码并解压
wget https://nginx.org/download/nginx-1.26.2.tar.gz
tar -zxvf nginx-1.26.2.tar.gz
如果你需要选择其它版本,可以访问下面网址
https://nginx.org/en/download.html
进入源码
cd nginx-1.26.2
执行配置
./configure --prefix=/usr/local/nginx/ --with-http_ssl_module --with-stream --with-threads --with-file-aio --with-poll_module --with-http_gzip_static_module --with-http_secure_link_module --with-http_slice_module
上面的参数中--prefix指定安装的位置
编译安装
make && make install
注册为系统服务,在下面路径中创建一个文件,并写入下面内容
vim /lib/systemd/system/nginx.service
[Unit]
Description=nginx
After=network.target

[Service]
Type=forking
ExecStart=/usr/local/nginx/sbin/nginx
ExecReload=/usr/local/nginx/sbin/nginx -s reload
ExecStop=/usr/local/nginx/sbin/nginx -s quit
PrivateTmp=true

[Install]
WantedBy=multi-user.target
启动nginx
systemctl start nginx
设置开机自启
systemctl enable nginx
查看是否启动成功
ps aux|grep nginx
开启防火墙端口
firewall-cmd --zone=public --add-port=80/tcp --permanent
firewall-cmd --reload
firewall-cmd --list-ports
3. 安装MySQL
安装依赖
dnf install perl-devel perl-Error perl-JSON perl-Memoize perl-Sys-Hostname perl-Time-HiRes perl-English perl-Time-Local
dnf install perl-CPAN
cpan
install Time::localtime
exit
下载rpm压缩包
wget https://downloads.mysql.com/archives/get/p/23/file/mysql-8.0.32-1.el9.x86_64.rpm-bundle.tar
解压缩
tar -xvf mysql-8.0.32-1.el9.x86_64.rpm-bundle.tar
安装
rpm -ivh mysql-community-common-8.0.32-1.el9.x86_64.rpm
rpm -ivh mysql-community-debuginfo-8.0.32-1.el9.x86_64.rpm
rpm -ivh mysql-community-libs-debuginfo-8.0.32-1.el9.x86_64.rpm
rpm -ivh mysql-community-client-plugins-8.0.32-1.el9.x86_64.rpm
rpm -ivh mysql-community-client-plugins-debuginfo-8.0.32-1.el9.x86_64.rpm
rpm -ivh mysql-community-libs-8.0.32-1.el9.x86_64.rpm
rpm -ivh mysql-community-client-8.0.32-1.el9.x86_64.rpm
rpm -ivh mysql-community-client-debuginfo-8.0.32-1.el9.x86_64.rpm
rpm -ivh mysql-community-debugsource-8.0.32-1.el9.x86_64.rpm
rpm -ivh mysql-community-devel-8.0.32-1.el9.x86_64.rpm
rpm -ivh mysql-community-icu-data-files-8.0.32-1.el9.x86_64.rpm
rpm -ivh mysql-community-server-8.0.32-1.el9.x86_64.rpm
rpm -ivh mysql-community-server-debug-8.0.32-1.el9.x86_64.rpm
rpm -ivh mysql-community-server-debug-debuginfo-8.0.32-1.el9.x86_64.rpm
rpm -ivh mysql-community-server-debuginfo-8.0.32-1.el9.x86_64.rpm
rpm -ivh mysql-community-test-8.0.32-1.el9.x86_64.rpm
rpm -ivh mysql-community-test-debuginfo-8.0.32-1.el9.x86_64.rpm
配置文件在/etc/my.cnf
启动MySQL
systemctl start mysqld
systemctl status mysqld
修改数据库密码
grep 'temporary password' /var/log/mysqld.log
临时设置一个密码
ALTER USER 'root'@'localhost' identified by '12345678Aa?';
flush privileges;
查看密码规则
show variables like 'validate_password%';
更改密码规则
set global validate_password.length=6;
set global validate_password.policy=0;
set global validate_password.mixed_case_count=0;
set global validate_password.special_char_count=0;
flush privileges;
更改密码
ALTER USER 'root'@'localhost' identified by 'new password';
flush privileges;
4. 安装PHP
安装依赖
yum install -y epel-release
rpm -Uvh http://rpms.remirepo.net/enterprise/remi-release-9.rpm
yum install -y php81-php php81-php-fpm
yum install -y php81-php-fpm php81-php-cli php81-php-bcmath php81-php-gd php81-php-json php81-php-mbstring php81-php-mcrypt php81-php-mysqlnd php81-php-opcache php81-php-pdo php81-php-pecl-crypto php81-php-pecl-mcrypt php81-php-pecl-geoip php81-php-recode php81-php-snmp php81-php-soap php81-php-xml
查看版本
php81 -v
设置开机自启
systemctl enable php81-php-fpm
systemctl start php81-php-fpm
systemctl status php81-php-fpm
查看端口占用情况
cat /etc/opt/remi/php81/php-fpm.d/www.conf | grep ^listen
修改配置文件
sed -i 's/;cgi.fix_pathinfo=1/cgi.fix_pathinfo=0/' /etc/opt/remi/php81/php.ini
启动php-cgi
nohup /opt/remi/php81/root/usr/bin/php-cgi -b 127.0.0.1:9000 -c /etc/opt/remi/php81/php.ini > nohup.log 2>&1 &
编辑php.ini文件
vim /etc/opt/remi/php81/php.ini
添加下面内容
extension=mysqli.so
extension=mysqlnd.so
修改后,需要重启php
systemctl restart php81-php-fpm
最好也重启一下php-cgi
5. 安装WordPress
下载源码
wget https://cn.wordpress.org/latest-zh_CN.zip
解压源码
unzip latest-zh_CN.zip
修改nginx.conf
vim /usr/local/nginx/conf/nginx.conf
location / {
    root   /usr/local/src/wordpress/;
    index  index.html index.htm index.php;
}
location ~ \.php$ {
     root           /usr/local/src/wordpress/;
     fastcgi_pass   127.0.0.1:9000;
     fastcgi_index  index.php;
     fastcgi_param  SCRIPT_FILENAME  $document_root$fastcgi_script_name;
     include        fastcgi_params;
}
location ~ /\.ht {
     deny  all;
}
重启nginx
/usr/local/nginx/sbin/nginx -s stop
systemctl start nginx
开放防火墙端口
firewall-cmd --zone=public --add-port=80/tcp --permanent
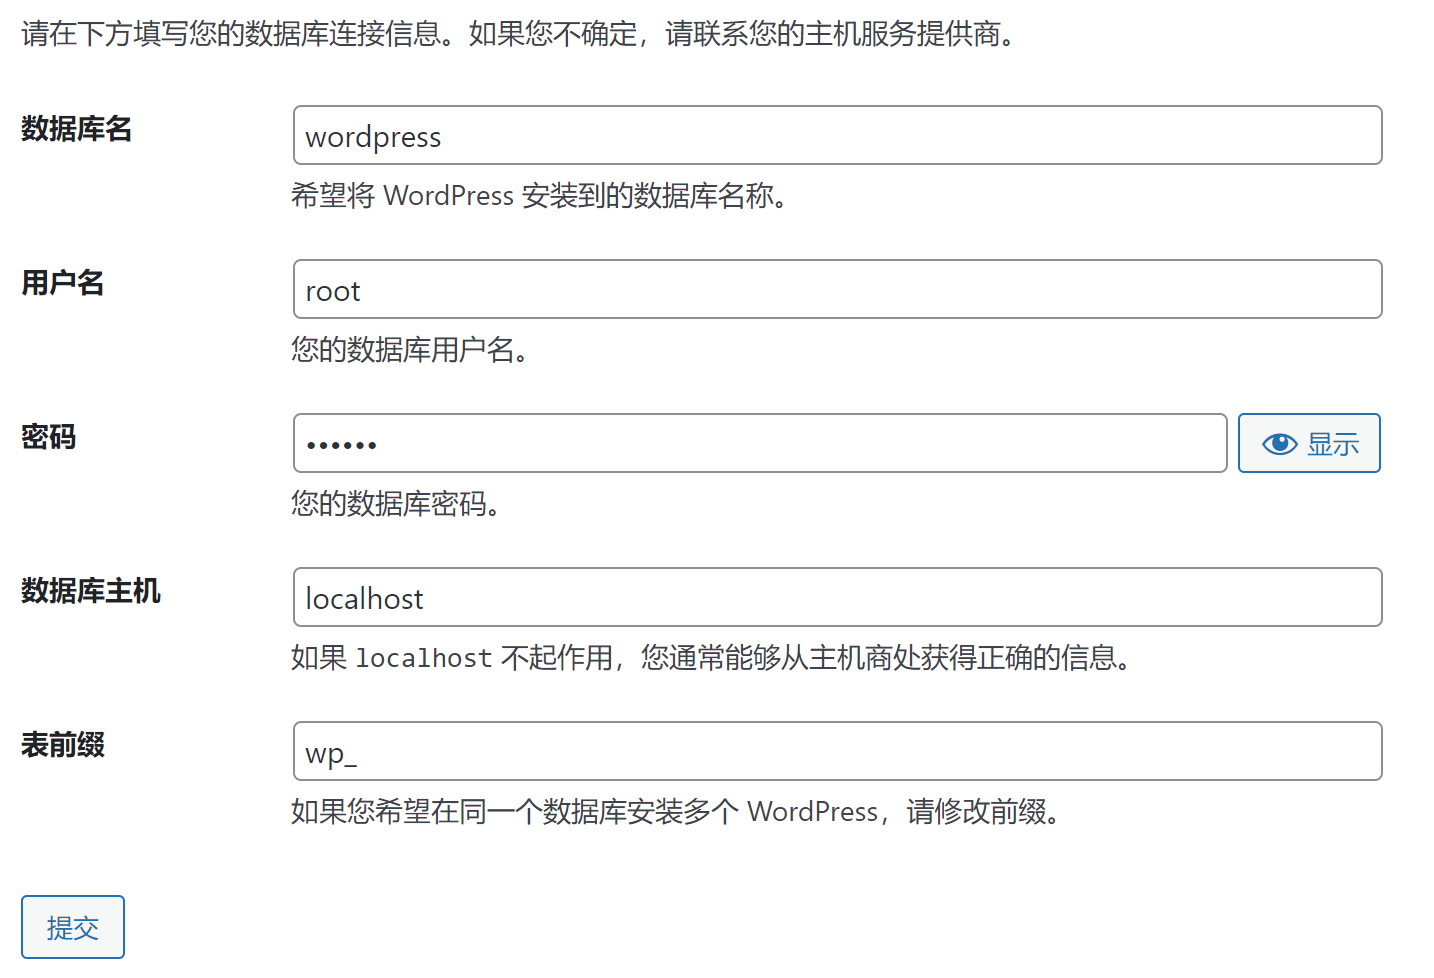
创建数据库
create database wordpress;
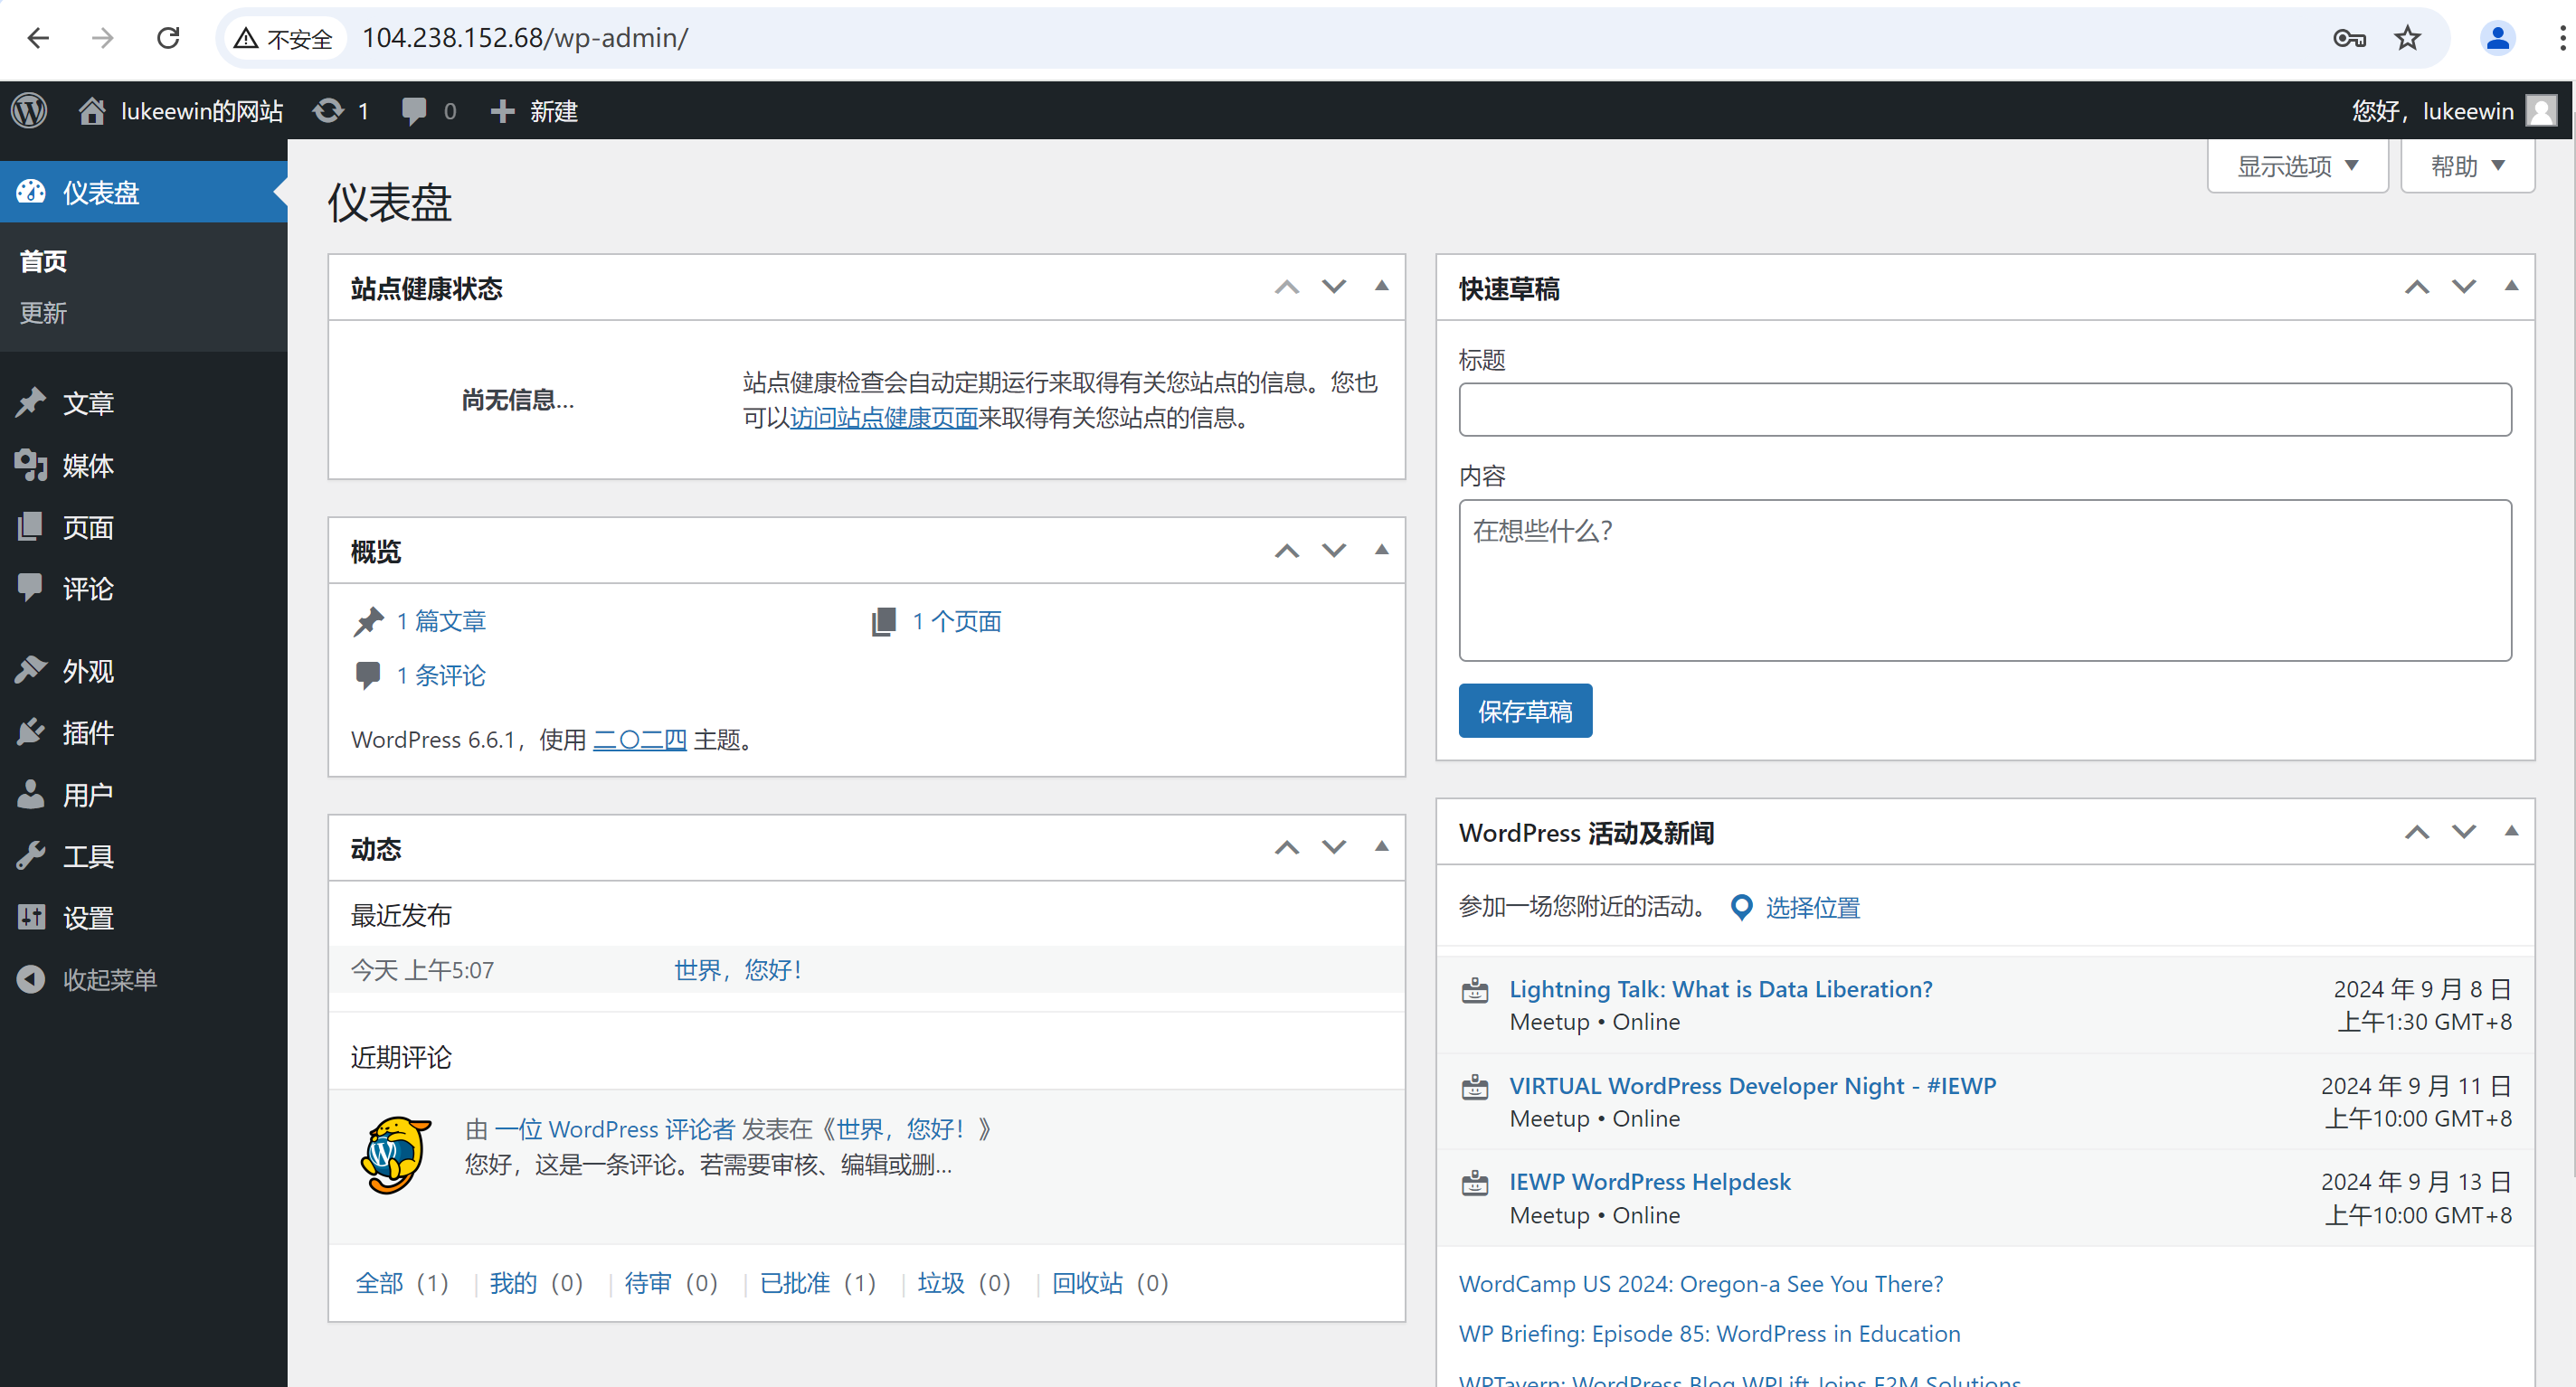
访问你服务器的ip就可以进入安装向导
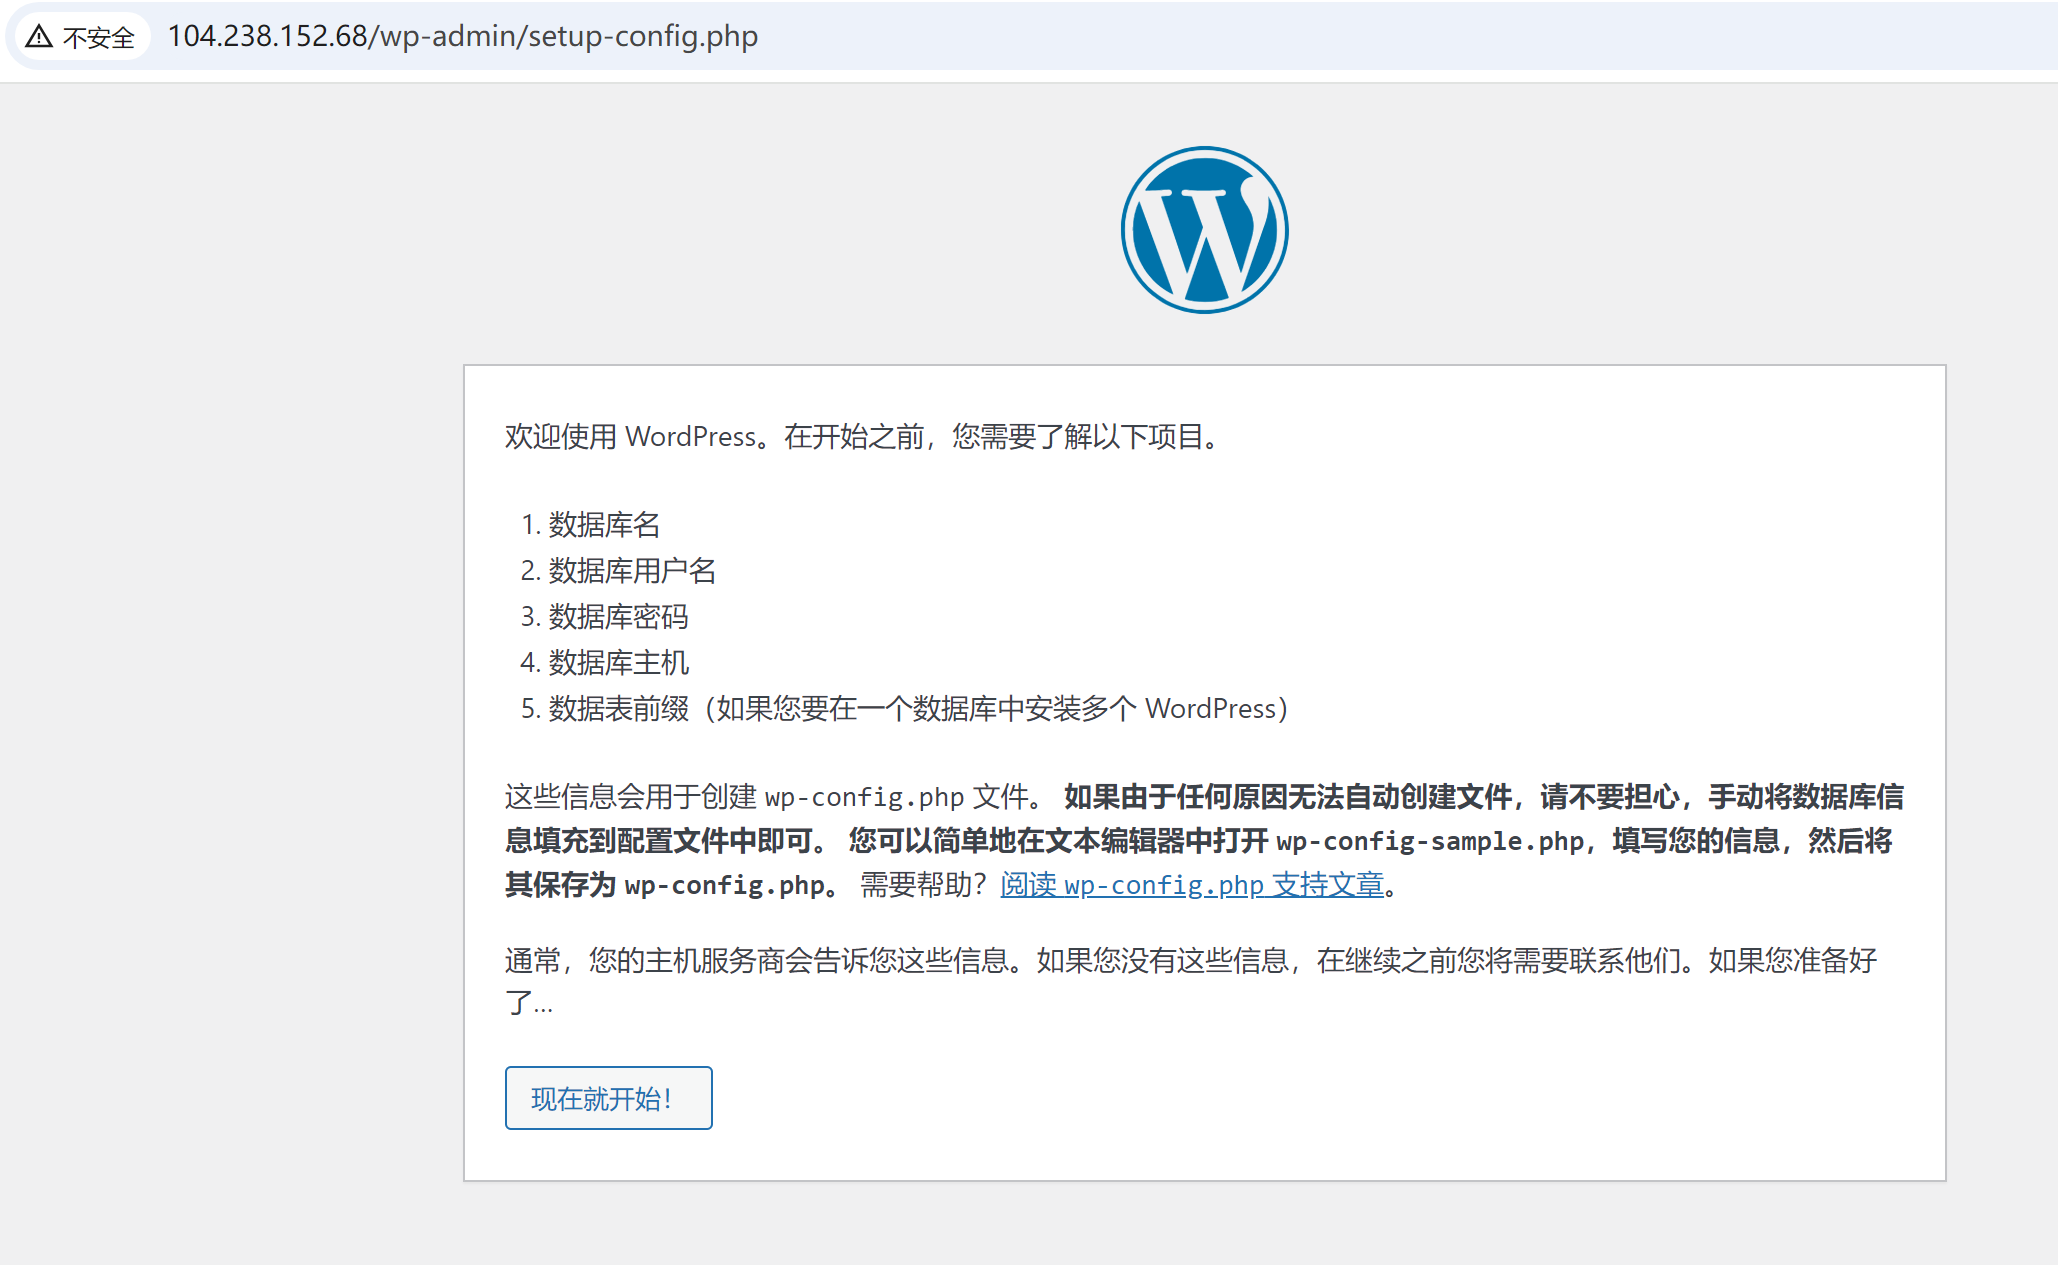
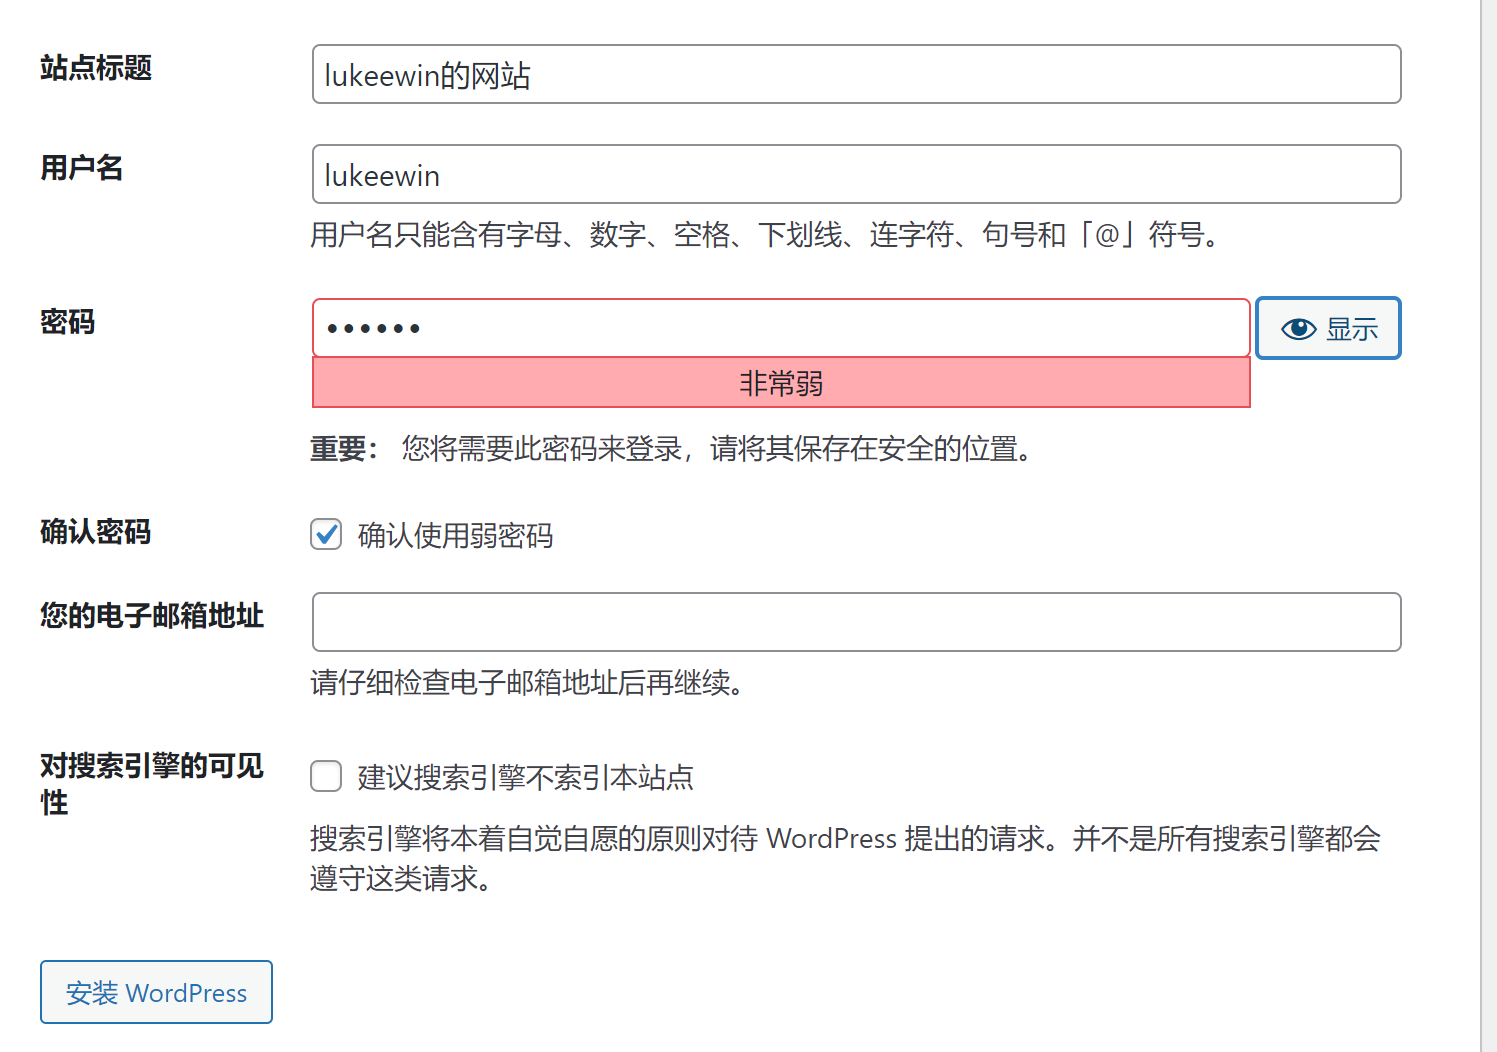
后台访问地址ip/wp-admin
6. 域名解析
租一个域名,可以到namesilo中租
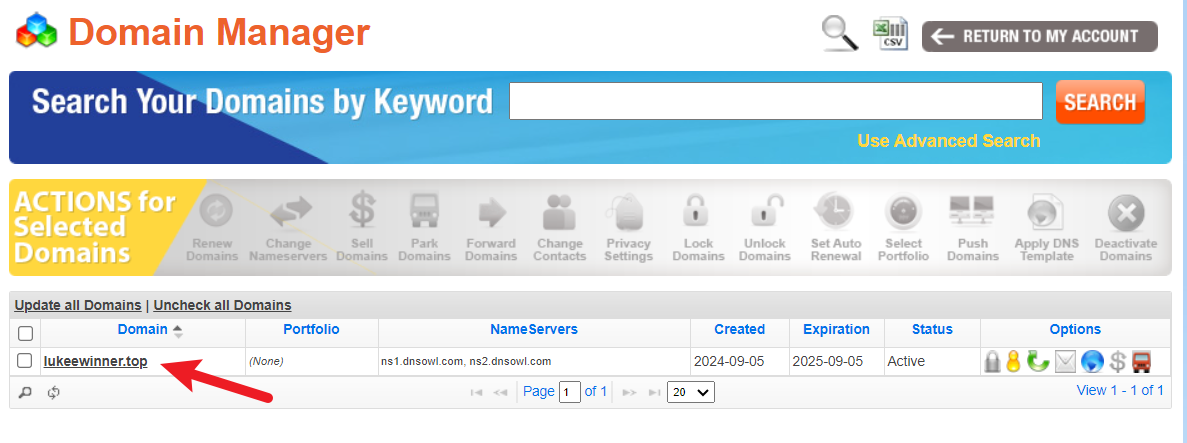
点击域名,然后进行DNS解析

注意:域名解析并不会立马生效,需要等待5分钟左右
修改nginx.conf
vim /usr/local/nginx/conf/nginx.conf
# 修改前
server_name  localhost;
# 修改后
server_name  lukeewiner.top;
重启nginx
systemctl reload nginx
7. 配置SSL
7.1 颁发证书
下载脚本
curl https://get.acme.sh | sh
获取namesilo api key,生成api key时可以指定ip
https://namesilo.com/account/api-manager
查看acme.sh支持的DNS解析商
https://github.com/Neilpang/acme.sh/wiki/dnsapi
找到对应的说明文档,不同的是域名解析商,下面的--dns值不同
https://github.com/acmesh-official/acme.sh/wiki/dnsapi#dns_namesilo
设置变量,<key>填写上面生成的api key
export Namesilo_Key="<key>"
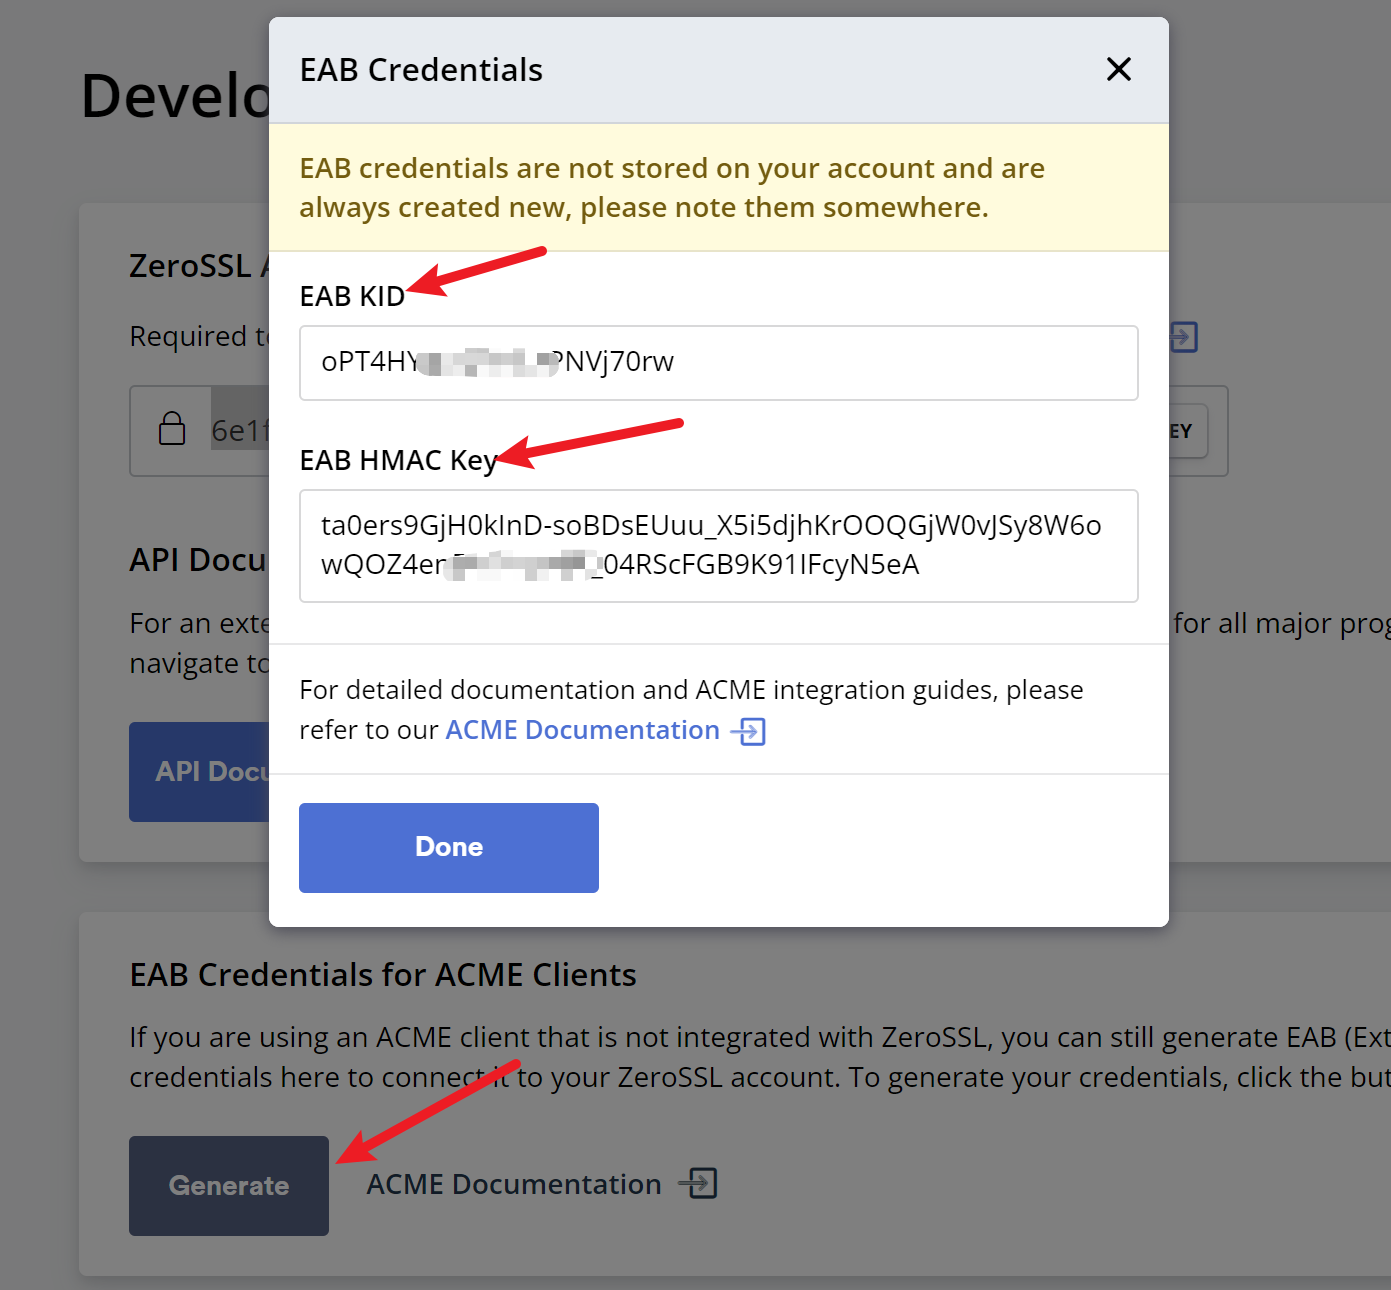
acme.sh默认使用的是zeroSSL,所以需要先注册zeroSSL,访问这个网站,点击页面中的Generate生成EAB
切换路径
cd /root/.acme.sh
默认使用的是zeroSSL,我们需要通过下面的命令配置到acme.sh中,下面的EAB KID和EAB HCME KEY填写上面的截图中的值
./acme.sh --register-account --server zerossl -m myemail@example.com --eab-kid <EAB KID> --eab-hmac-key <EAB HCME KEY>
生成证书,-d后面接你的域名
./acme.sh --issue --dns dns_namesilo -d lukeewinner.top -d *.lukeewinner.top --dnssleep 900
对上面的参数的解释
--issue 颁发证书
--dns 填写域名解析商,我这里使用的是namesilo解析域名,如果你是使用其它域名解析商,比如国内的阿里云或者腾讯云,那么你需要根据https://github.com/acmesh-official/acme.sh/wiki/dnsapi这个文档,找到对应的域名解析商
-d 填写域名,支持泛域名
--dnssleep 表示过多少秒后检查dns中是否有txt记录,这里使用的是dns api方式自动添加的txt记录,不用手动添加
生成有两个文件,一个cer,也就是证书文件,一个key,就是密钥文件
7.2 使用证书
把证书复制到nginx的安装路径下
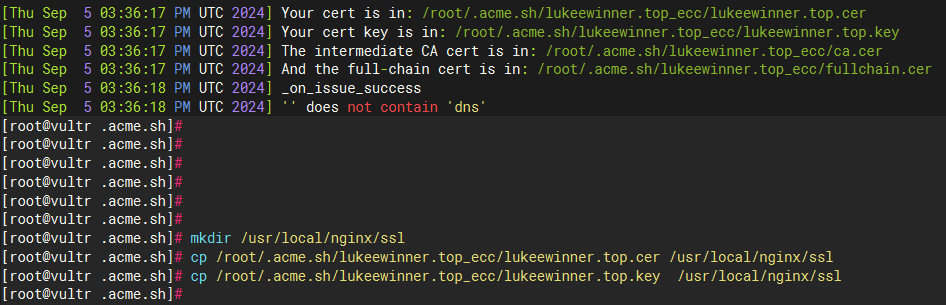
mkdir /usr/local/nginx/ssl
cp /root/.acme.sh/lukeewinner.top_ecc/fullchain.cer /usr/local/nginx/ssl/fullchain.pem
cp /root/.acme.sh/lukeewinner.top_ecc/lukeewinner.top.key  /usr/local/nginx/ssl/key.pem
修改nginx.conf
vim /usr/local/nginx/conf/nginx.conf
server {
    listen 80;
    server_name lukeewinner.top www.lukeewinner.top;

    return 301 https://$host$request_uri;
}

server {
  listen       443 ssl;
  server_name  lukeewinner.top www.lukeewinner.top;

  ssl_certificate     /usr/local/nginx/ssl/fullchain.pem;
  ssl_certificate_key /usr/local/nginx/ssl/key.pem;

  ssl_session_cache    shared:SSL:1m;
  ssl_session_timeout  5m;

  ssl_protocols TLSv1.2 TLSv1.3;
  ssl_ciphers  HIGH:!aNULL:!MD5;
  ssl_prefer_server_ciphers  on;

  location / {
            root   /usr/local/src/wordpress;
            index  index.html index.htm index.php;
  }

  location ~ \.php$ {
     root           /usr/local/src/wordpress;
     fastcgi_pass   127.0.0.1:9000;
     fastcgi_index  index.php;
     fastcgi_param  SCRIPT_FILENAME  $document_root$fastcgi_script_name;
     include        fastcgi_params;
  }

  location ~ /\.ht {
     deny  all;
  }
}
最后一定要记得开放443端口
firewall-cmd --zone=public --add-port=443/tcp --permanent
firewall-cmd --reload
同时还要记得重载一下nginx
systemctl reload nginx
7.3 配置自动续签
使用下面命令,可以自动保存更新后的证书到指定的路径下,并且会重启nginx
acme.sh --install-cert -d lukeewinner.top -d *.lukeewinner.top \
--key-file /usr/local/nginx/ssl/key.pem \
--fullchain-file /usr/local/nginx/ssl/fullchain.pem \
--reloadcmd "systemctl reload nginx"
acme.sh有一个定时任务,我们可以使用crontab -l命令来查看,也可以修改,通过crontab -e来修改定时任务
0 5 1 * * "/root/.acme.sh"/acme.sh --cron --home "/root/.acme.sh" > /dev/null
# 分 时 日 月 周
7.4 其它
查看证书有效期
acme.sh --list
移除不需要的证书
acme.sh --remove -d lukeewinner.top
强制刷新证书
acme.sh --renew -d lukeewinner.top --force
查看已安装证书信息
acme.sh --info -d lukeewinner.top
卸载acme.sh
acme.sh --uninstall
8. 参考文档
[1] 通过acme自动续签SSL证书
Q.E.D.